5 Minute Messy Buns: Chic Styles in No Time
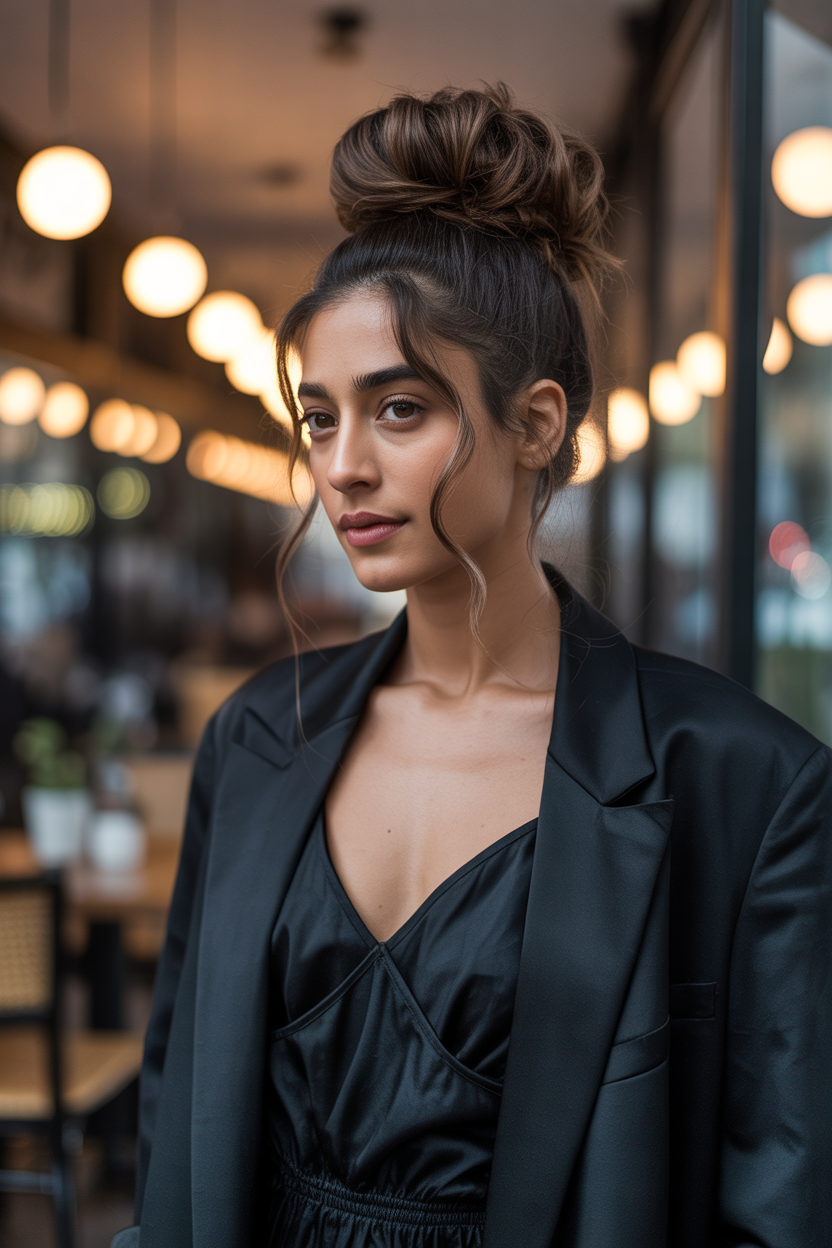
I used to get so frustrated. I would see celebrities like Hailey Bieber and Jennifer Lopez with these perfect, effortless updos. Then I’d spend 20 minutes in front of the mirror, twisting and pinning, only to look like I had a bird’s nest on my head. It felt like a secret I wasn’t in on. But I eventually learned the truth.
The secret to great messy bun hairstyles isn’t about luck; it’s about technique. It’s a simple style anyone can master with a few key tricks. This guide will show you exactly how to create a beautiful, secure messy bun that looks chic every single time, no matter your hair type.
What You’ll Need for the Perfect Messy Bun
Before you start, gathering a few simple tools makes all the difference. I keep a small kit ready on my vanity so I can pull my hair up in minutes. You do not need a lot of fancy equipment.
Here is what works best:
- A Good Hair Tie: Choose one without a metal clasp to prevent breakage.
- Bobby Pins: Get pins that match your hair color. They will blend in much better.
- Texturizing Spray or Dry Shampoo: This is my secret weapon! It gives your hair the grip it needs.
- Light-Hold Hairspray: This helps tame flyaways without making your hair stiff.
The Classic Messy Bun: A 5-Minute Guide
Creating the classic messy bun is faster than making your morning coffee once you know the steps. It is all about building a good foundation and then letting it be perfectly imperfect.
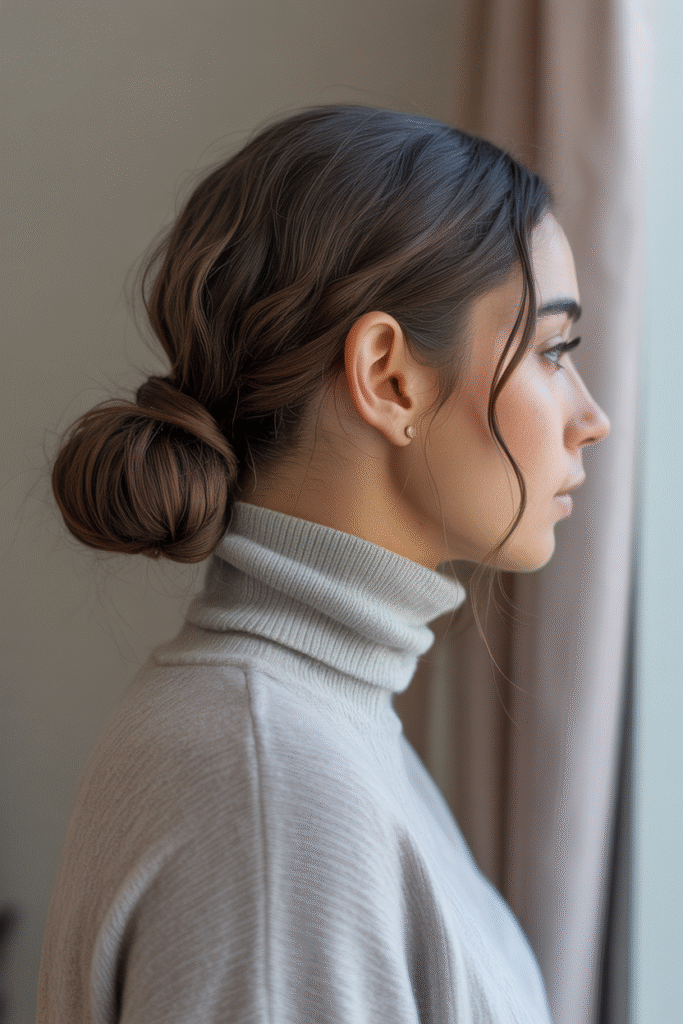
Step 1: Prep Your Hair for Texture
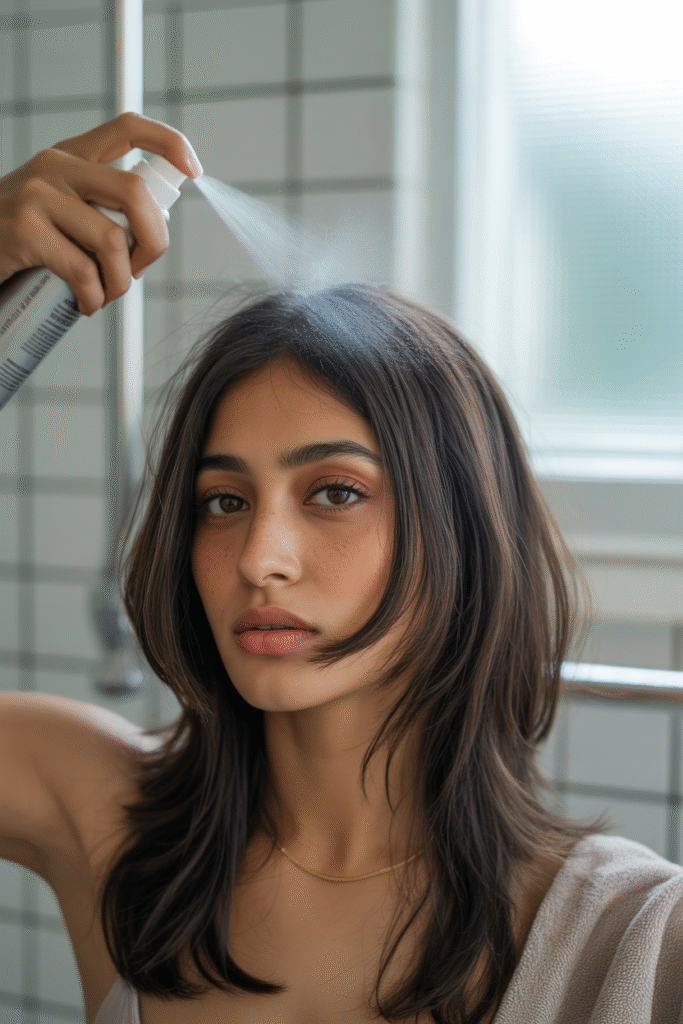
First, you need to give your hair some grip. Clean, silky hair is too slippery to hold a bun shape. I have found that second-day hair works best for any kind of messy bun hairstyles. The natural oils provide the perfect starting texture.
If you are starting with clean hair, do not worry. Just grab your dry shampoo or a texturizing spray. Lightly spray it at your roots and through the lengths of your hair. Then, use your fingers to massage it in. This instantly adds volume and a gritty texture that helps the style hold.
Step 2: Create a High Ponytail
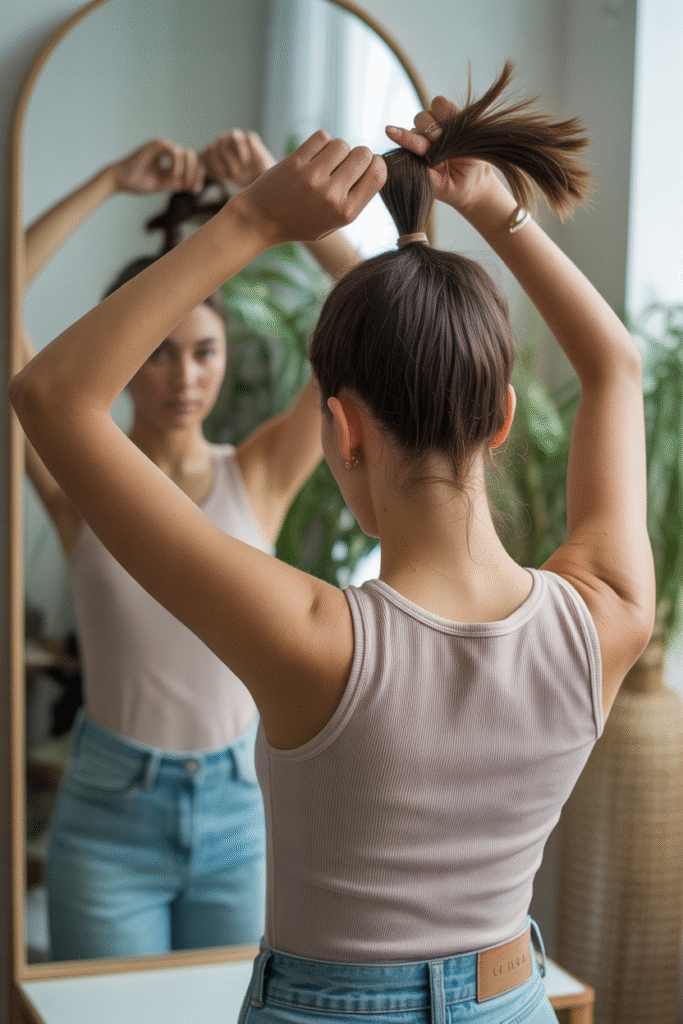
Next, decide where you want your bun to sit. A high bun often looks more modern and chic. A bun at the crown of your head can also make your face look more lifted. Gather your hair into a loose ponytail at your desired spot.
Do not use a comb or brush for this part. Using your fingers keeps the style soft and natural. Secure the ponytail with a hair tie. On the last pull-through, only pull the hair halfway to create a simple loop. This loop will form the base of your bun.
Step 3: Twist and Wrap Your Bun
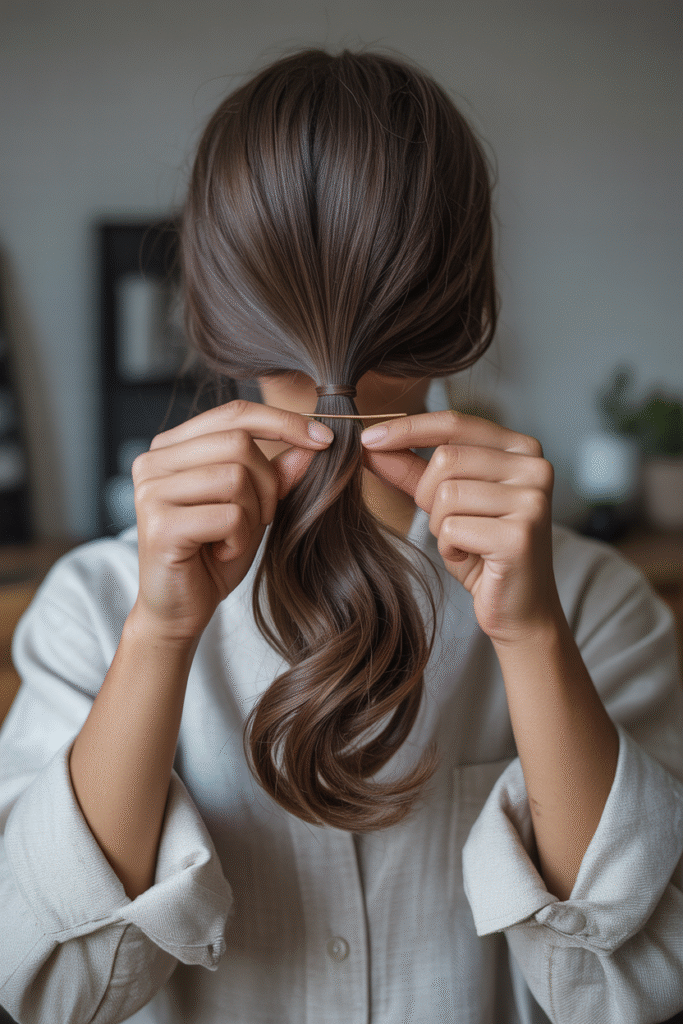
Now you will use the leftover tail of your ponytail. Twist this section of hair loosely. Then, wrap it around the base of the hair tie that is holding your loop. This action covers the elastic and adds more volume to the bun.
The direction you wrap does not matter. Just do what feels most natural to you. The goal is to make the base of the bun look fuller. This small detail is a key part of many popular messy bun hairstyles. It makes the final look appear much more polished.
Step 4: Secure and Perfect the “Mess”
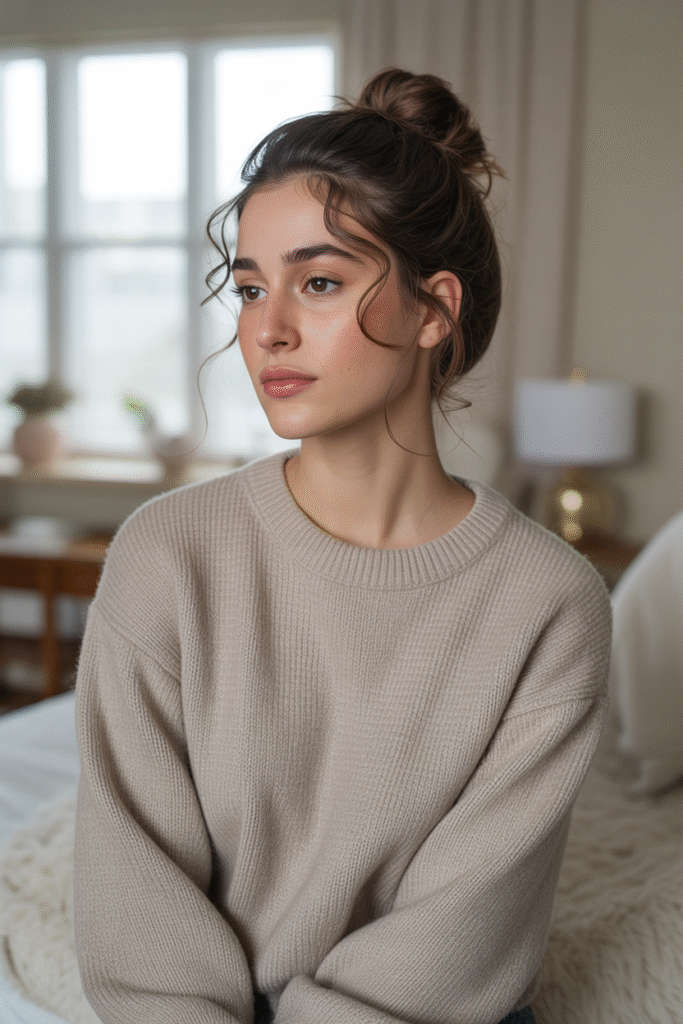
Once the tail is wrapped, secure the end with a couple of bobby pins. The American Academy of Dermatology suggests avoiding styles that pull too tightly on your hair to prevent breakage. So, make sure the pins are not digging into your scalp. I secure mine by inserting them with the wavy side against my head for a better hold.
Now for the fun part: making it messy! Gently pull on the looped bun to make it bigger and create a shape you like. Use your fingers to pull out a few small, face-framing pieces of hair, usually near your temples and ears. Finally, a light mist of hairspray will keep everything in place without looking stiff.
Messy Bun Hairstyles for Every Hair Type
One of the best things about the messy bun is how versatile it is. I have seen it work beautifully on my friends with all different kinds of hair. You just need to adjust the technique slightly.
For Short or Medium Hair
If your hair is not long enough for a high bun, a low messy bun hairstyles option is your best friend. Gather your hair at the nape of your neck. Create a small loop and pin the loose ends around it. Pulling out a few extra pieces can make it look fuller. Another great option is the half-up messy bun. Just gather the top section of your hair and create a small bun, leaving the rest down.
I have found that with my shorter-haired friends, using smaller, mini bobby pins provides a much better hold. They are less likely to slip out of shorter hair strands. Also, a strong texturizing spray is essential to give the hair enough body to work with. This prevents the style from falling flat after an hour or two. It gives the illusion of thicker hair.

For Long or Thick Hair
Having long or thick hair is great, but it can be heavy. I once tried to secure my friend’s thick hair with a single, flimsy tie, and it fell out in five minutes. The key is to build a super-secure base. Use a strong, thick hair tie designed for heavy hair. Sometimes, using two ties gives you extra security.
When you make your ponytail, you can split it into two separate sections. Twist each section individually, then wrap them around the base in opposite directions. This distributes the weight and creates a large, beautiful bun that is not just a single, dense lump. It also helps the bun stay in place all day without needing constant adjustments.
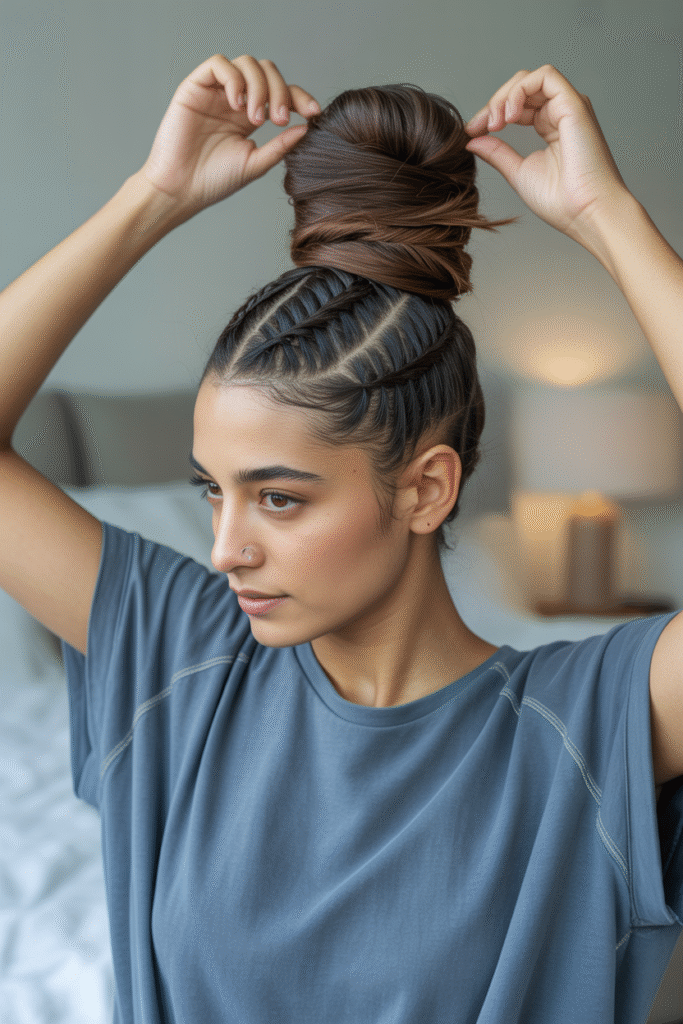
For Thin or Fine Hair
The biggest challenge with thin hair is creating volume. You want a bun, not a tiny knot. Before you even start, applying a volumizing mousse to damp hair and blow-drying it upside down can work wonders. When your hair is dry, the texturizing spray is still your best friend.
When you create the ponytail, gently tease it with a comb before you twist and wrap it. This little bit of backcombing will double the volume. I also learned a great trick: you can hide a small hair donut inside your bun. Wrap your hair around it, and no one will ever know it’s there. It is an easy way to get full messy bun hairstyles every time.
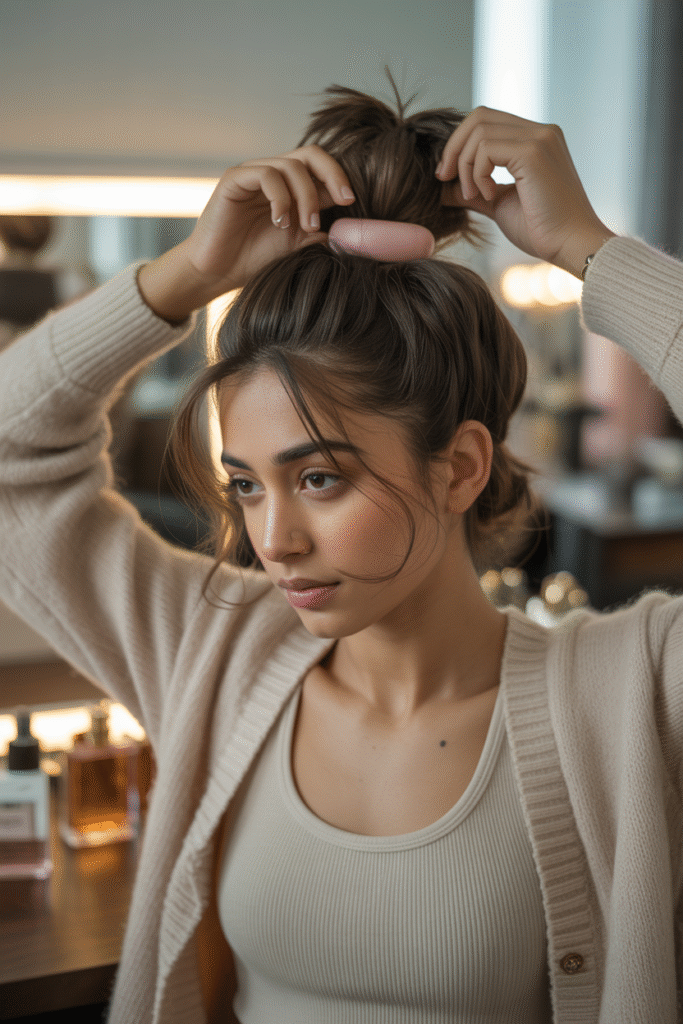
For Curly Hair
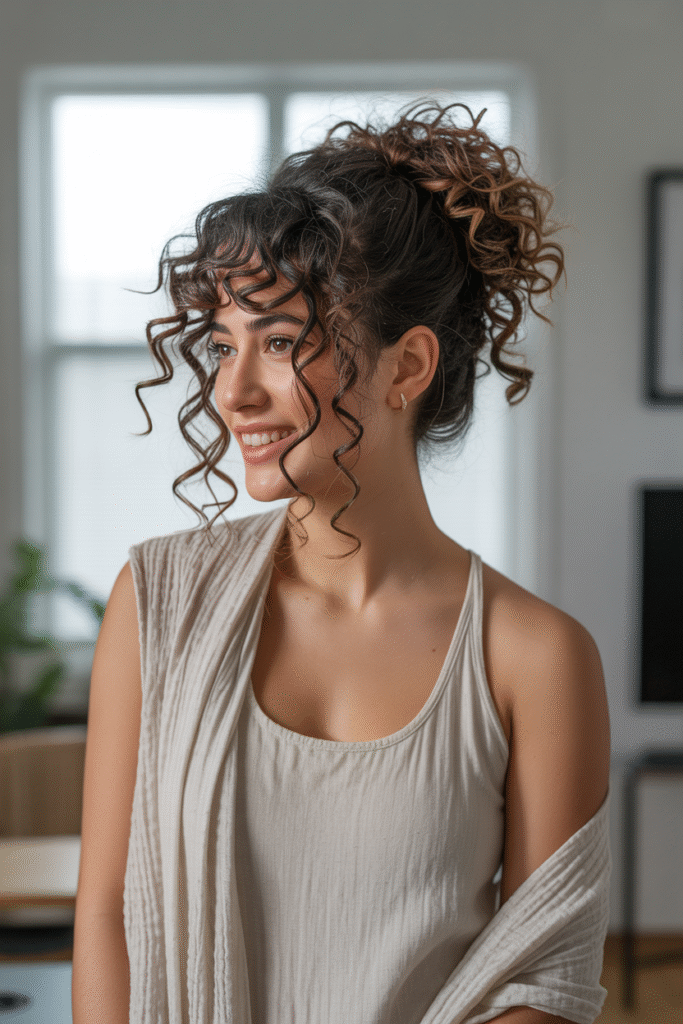
Curly hair has amazing natural texture, which is perfect for a messy bun. The key is to work with your curls, not against them. Over-brushing can destroy your curl pattern and create frizz. Instead, use your fingers to gently gather your hair. Many people with curly hair find the “pineapple” method is a great start.
Gather your hair into a very high, loose ponytail on top of your head. This protects your curls. From there, you can either create the loop bun or just arrange the curly ends and pin them into a bun shape. Let some of your natural curls spill out around your face and the nape of your neck. It’s one of the easiest and most beautiful messy bun hairstyles for textured hair.
Frequently Asked Questions (FAQs)
Q1: How do I make my messy bun look fuller?
To make your messy bun look fuller, start with textured hair using dry shampoo. When you form the bun, gently tug and pull on the sections to expand its size. You can also tease your ponytail before wrapping it to create more volume from the inside out.
Q2: Can you do a messy bun with clean hair?
Yes, you can. The trick is to add artificial texture. Spray dry shampoo or a sea salt spray throughout your clean hair before you start. This will give it the necessary grit and hold, mimicking the texture of second-day hair, which is ideal for updos.
Q3: How do I keep my messy bun in all day?
For all-day hold, use a strong hair tie and crisscross your bobby pins for extra security. Make sure you pin the wrapped ends securely to the base. A final spritz of a flexible-hold hairspray will lock in the style without making it feel crunchy or stiff.

